Monday, December 26, 2011

Merry Christmas! {& decoration wrap up}

I know I'm a day late and several Christmas related posts short. My apologies. I got so busy making decorations and gifts along with the normal daily responsibilities that I was lucky to remember to take a picture, most of the time. Today I want to share the rest of the Christmas decorations I made while there may still be some interest. My kids are already thinking about New Years eve plans so I better get on it.

I have had the same decorations for eight years. Bulbs, tree skirt, even the strands of lights {that still work and remain untangled because of my OCDness when putting things away the same as they came}. This year I decided I needed something new and fresh and more 'me' or fitting for my style now. I had cranberry/wine and gold colored bulbs with matching tree skirt and while it was pretty it just isn't 'me' anymore. The bulbs were scratched up and obviously old and I couldn't wait to give them a makeover. Until I opened up my Christmas boxes and discovered they were gone and remembered throwing them away last year determined to get new ones this year. This is what happened before pinterest, perfectly useable bulbs gone to waste. Hope was not lost, I found boxes of free bulbs on a local facebook page and made {some of} my pinterest dreams come true.

Photobucket
Photobucket

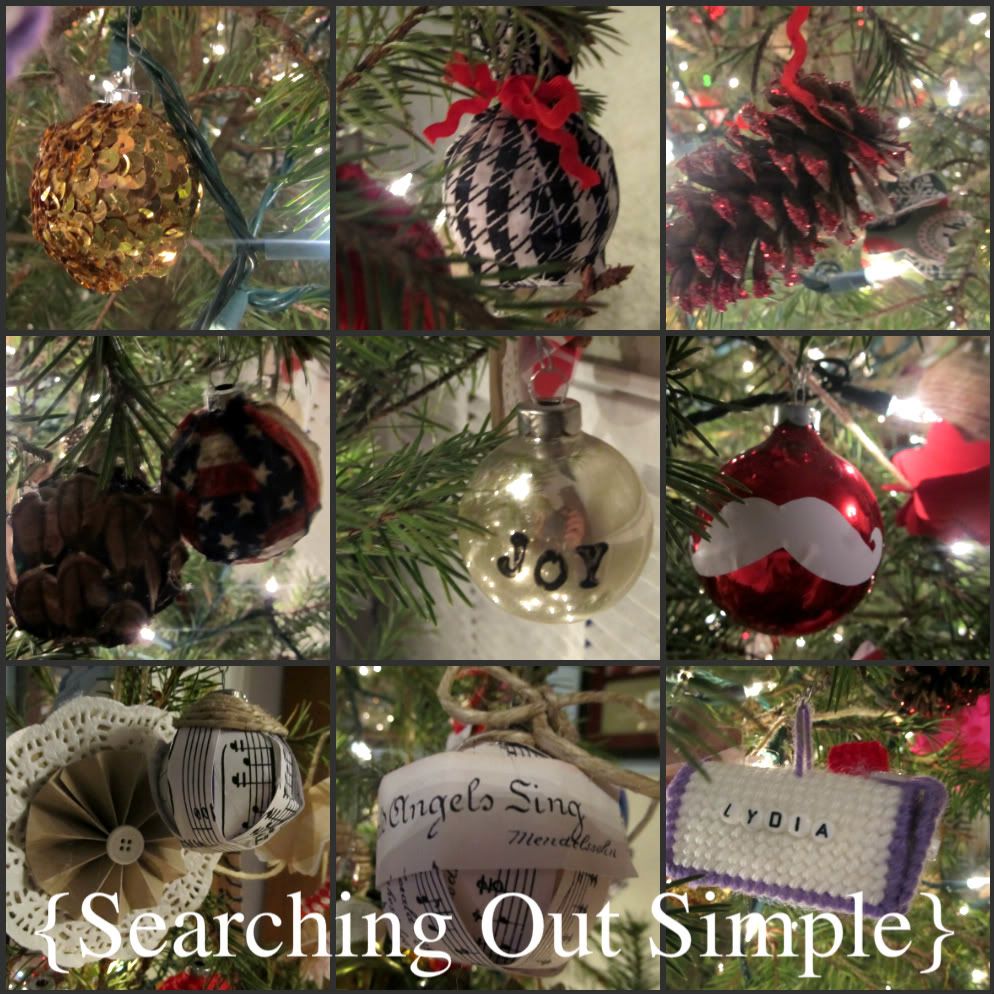
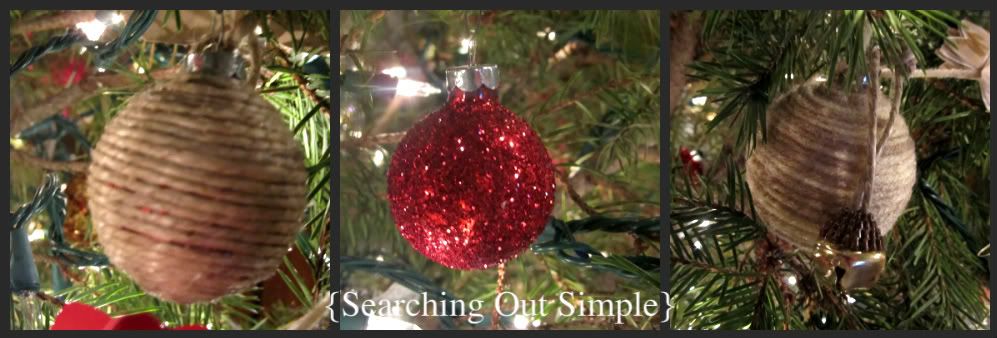
I covered bulbs in sequin trim, fabric, added glitter to a pinecone, covered a bulb in pinecone pieces, stamped some bulbs that were in good shape, used white vinyl to make a Santa 'stache, made paper pinwheel & doily ornaments, covered bulbs in sheet music, twine, glitter and yarn. I added some madeover acorn bells to some as well. {The mailbox ornament wasn't made by me but by my great grandma so it's pretty special, we each have one and each year Santa leaves a little something in there too.}
My favorite makeover is the music sheets. They remind me of singing Christmas carols around the organ at my great grandparents' house. I didn't care for the bulbs covered in pinecone pieces, the idea was better than execution. Also, if you cover bulbs in fabric I found better results using hot glue compared to mod podge. Stamping on a sphere is trickier than it looks so I didn't have very many stamped {joy, merry christmas, ho ho ho, fa la la la la, silent night/holy night}. Next year I have plans for clear bulbs that I hope to find on clearance this year. Overall it was totally worth the hot glue burns.
Photobucket
My plans for a tree forrest were scratched when I ran short on time and shorter on sleep. But I did manage to cover one cone tree in burlap & lace trim and another in yarn. Next year I want to use book pages, twine, doilies and other things I've pinned but since forgotten.

And last to show is our stockings hung on the bookshelf with care!

Photobucket

With the same drop cloth I used for my tree skirt and a template I found online I made these stockings. I am thrilled with how they came out. Last year I wanted to make some but didn't so this year I was determined. I wanted something simple and cohesive but individual for each of us too.
Photobucket

The first is for my son. He likes wearing a tie or bow tie and is very particular about his clothes. I couldn't think of anything better to embellish his stocking. My oldest daughter asked for flowers & butterflies so we compromised on flowers. {while writing this I had an idea to put birds on hers, will I ever be satisfied? haha}. The baby didn't have much to say about hers so I layered petal like shapes and added some holly berries for a pointsettia. I still need to add some red trim to my son's and am contemplating adding their names somehow but not decided.

Photobucket

Around here Santa doesn't leave anything for mom & dad but sometimes we leave a little something for each other so we needed stockings too. Mine just had to have ruffles. My husband's is still plain because I couldn't think of something that was masculine but still worked. Any thoughts? I may just leave it as is, he's a simple guy so that may work perfectly.

Photobucket

I didn't make these bird hooks but had to share the story behind them. Back home we used to have a Pier 1 outlet store. It was fabulous. My sister used to work there and she told me about a great sale they had on Christmas items. Everything was 90% off! Of course I jumped on it. They had these pretties for $1.50 each, meaning the original price was $15.00, yikes! What would have costs me $60.00 was only $6.00, probably my best bargain to date. Only problem is I only bought four and now we are a family of five. My OCDness won't let me have one that doesn't match and I love them too much to get all new ones. Maybe one day I'll find a fifth bird somewhere. Until then dad & mom share a hook for their stockings.

Thank you for visiting!

Linking to:

Thursday, December 15, 2011

Paper Garland {pinspired}

I still don't have pictures of the ornaments I made and madeover but I do have pictures of the paper garland I made. This is another project that I pinned AND executed. It seems like I've executed a lot of pins lately, but when compared to the nearly 2,000 pins I have a long way to go.


I wish I had better pictures for you but the week after making this it was wet and rainy outside and then I got busy with other projects and before I knew it, it was time to put it on the tree.


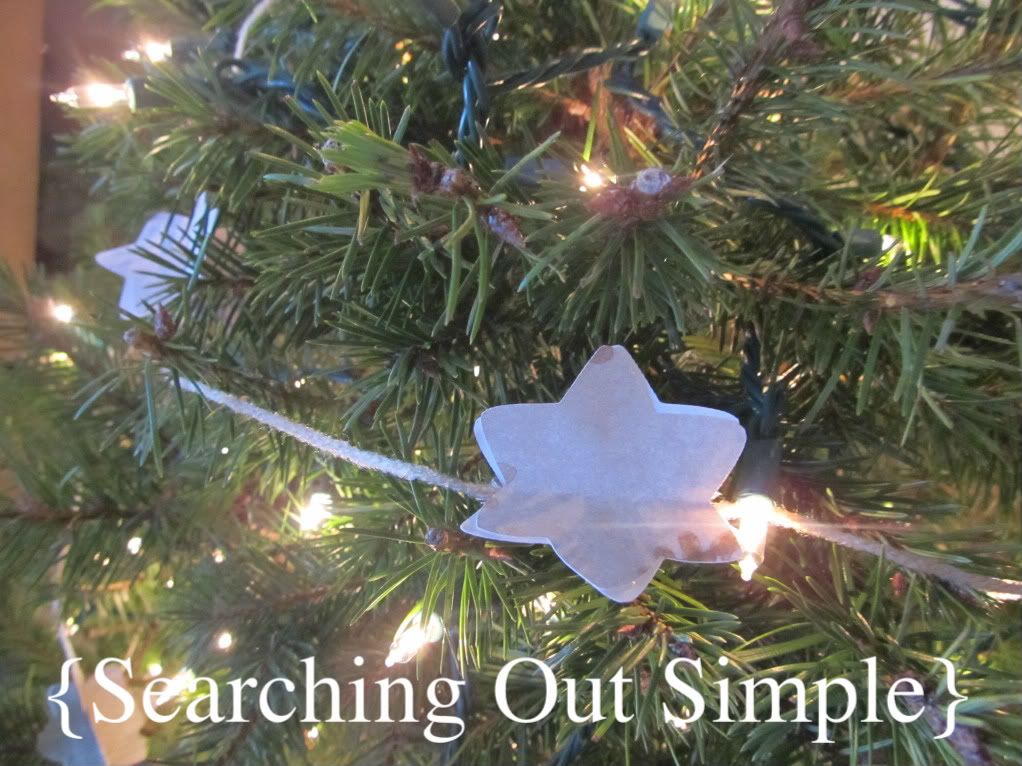
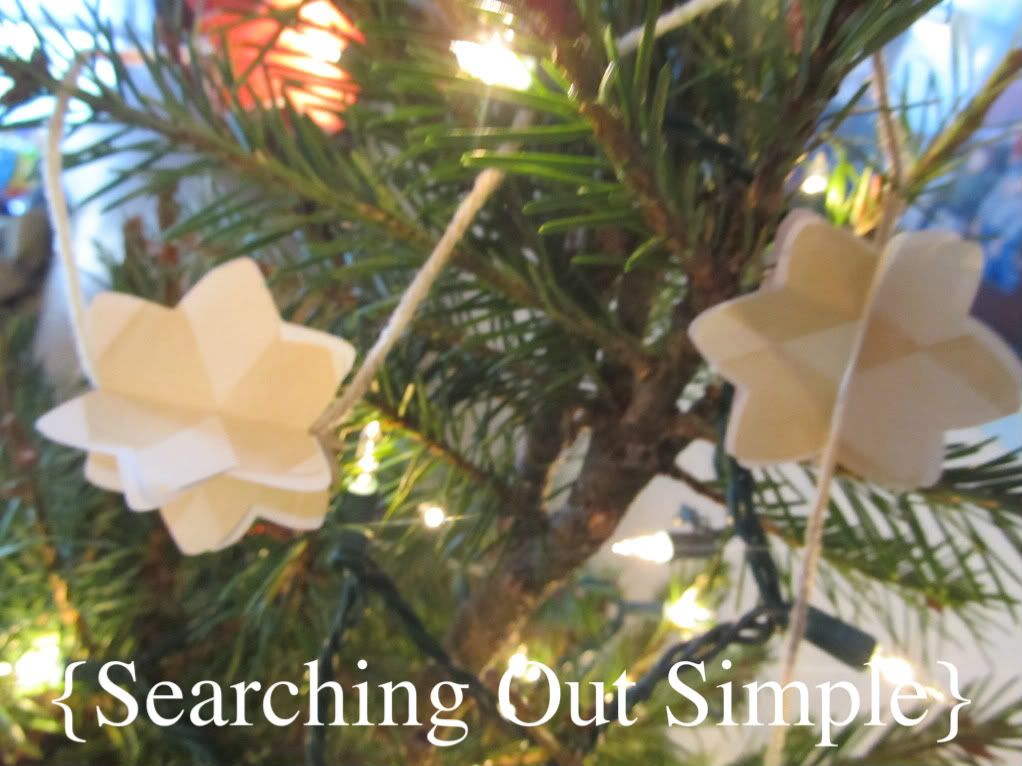
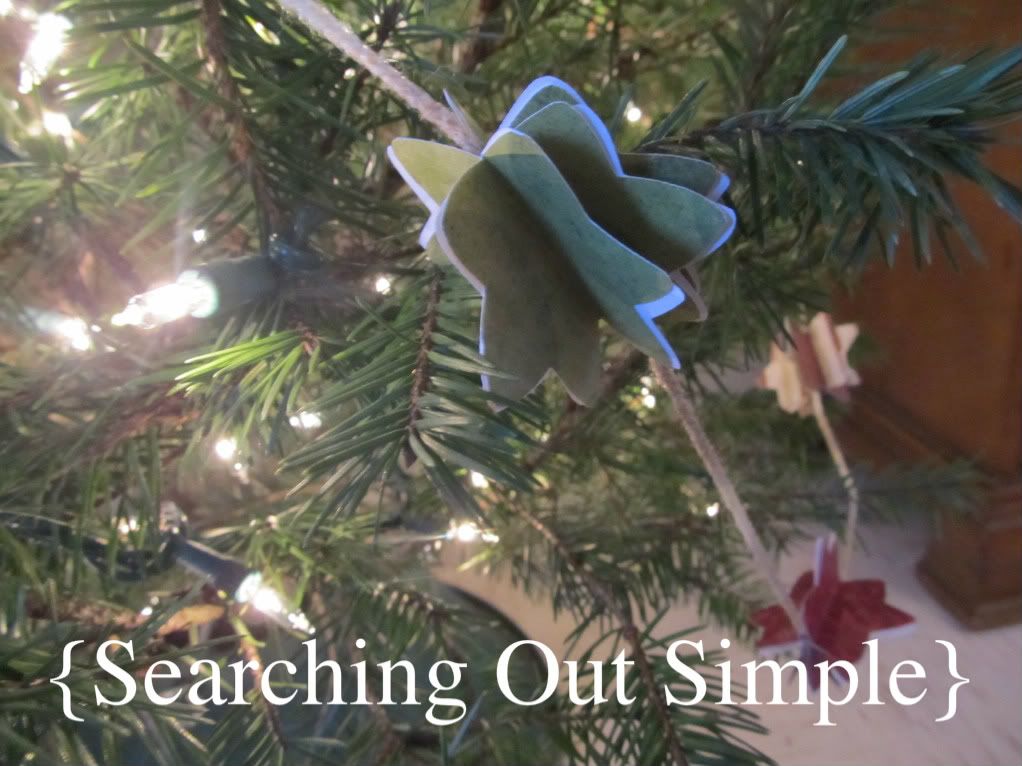
I went through my paper stash and pulled out reds, greens and creams with various patterns. They don't really 'match' but they 'go' so it works. I used my cricut to cut the star shapes and hot glued them together and then onto the yarn.


I can't remember how long my garland ended up being but it's long enough to zig zag across the front of my short tree. I think it would look cute on a mantle, shelf or staircase also.

I got the idea from this post {she used scalloped circles, but I don't have that cartridge} and I pinned it here.

Thanks for visiting! I'm hoping to share the ornaments with you tomorrow.

Linking to:

Weekend Bloggy Reading

Wednesday, December 14, 2011

My Tree Skirt

Oh goodness, only eleven days until Christmas! Am I the only one still making decorations? I probably should stop that and start making gifts right?
Today I want to show you my tree skirt. Last year I planned to make one but didn't get to it so this year I was determined.

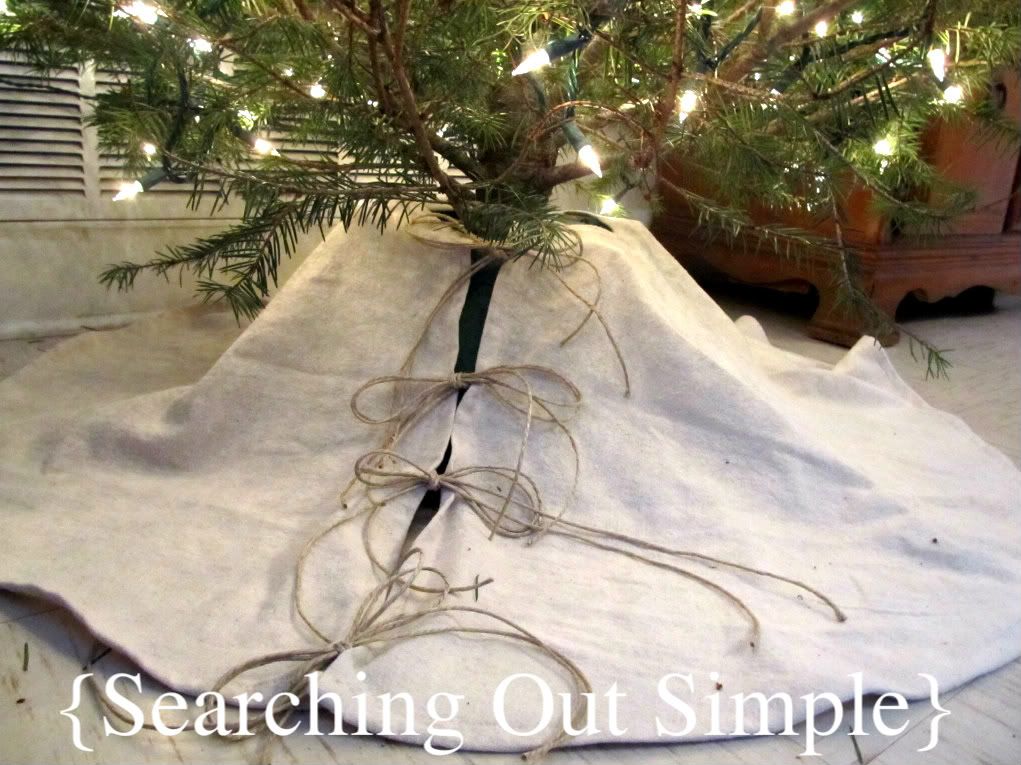
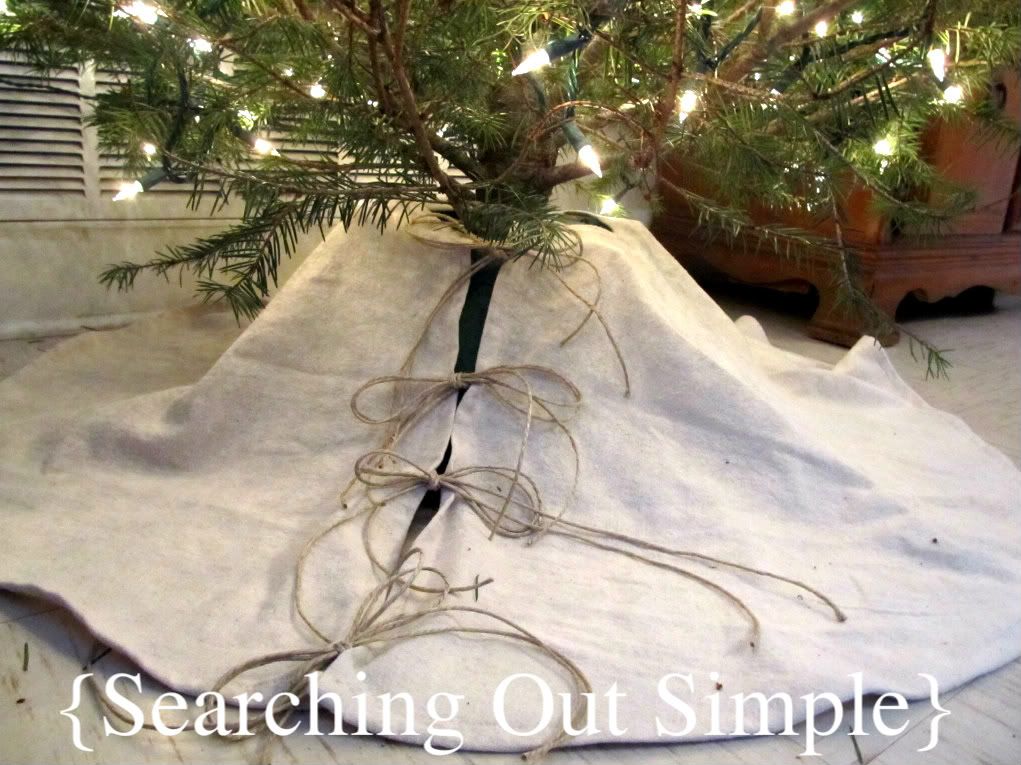
It is really simple but I really like it. I made it using a piece of drop cloth and some jute to tie it up. I took a few pictures along the way to show you how easy it is to make one.

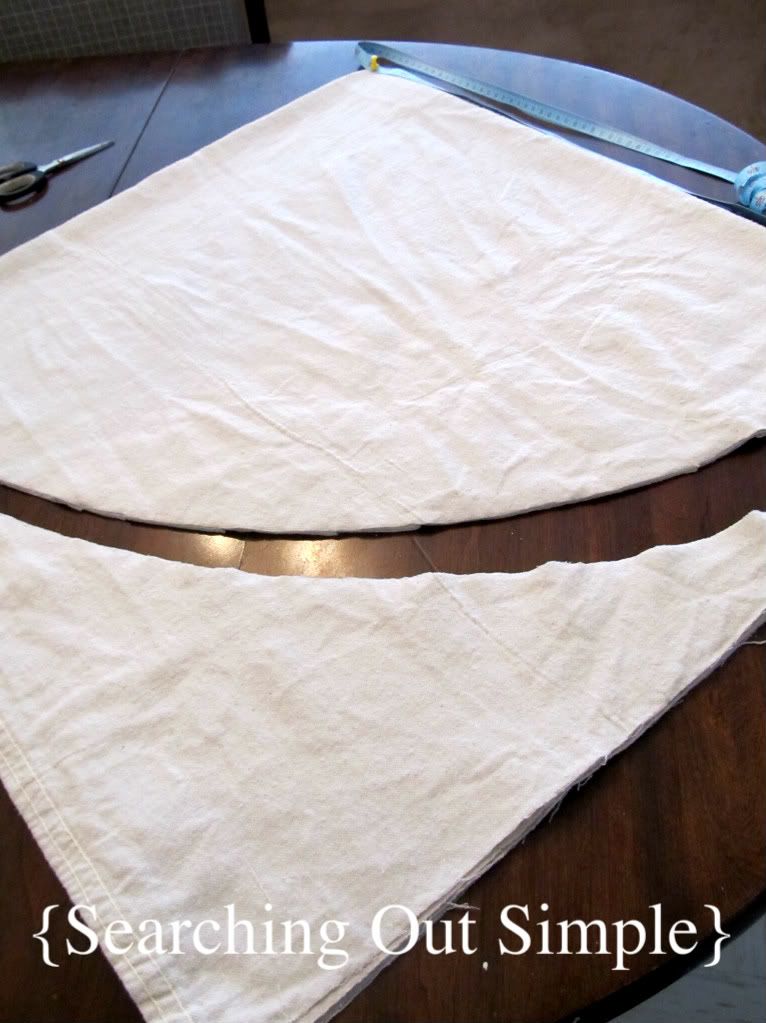
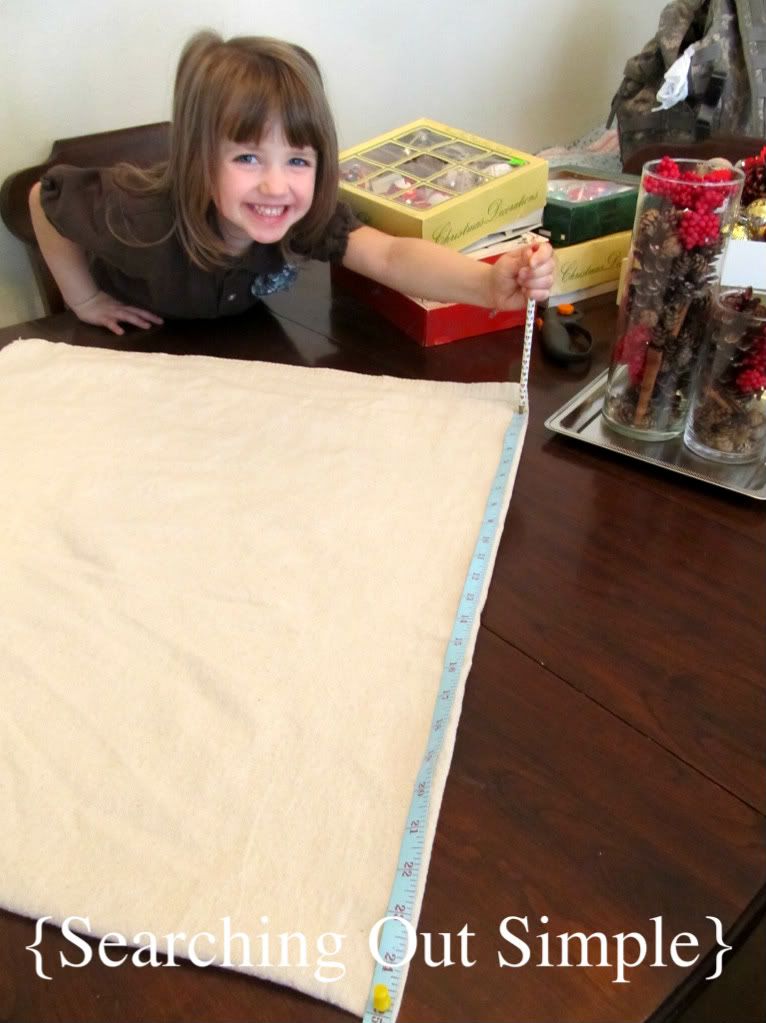
I cut a piece about 4'x4' and folded it into half and then half again. Then I gathered up my measuring tape, a tack and a pencil to create a circle. You want to determine how wide you want your finished skirt so be sure to include allowance for a hem. I tacked the measuring tape to one corner and used the pencil in the little circle at the end. My daughter helped to demonstrate this.

Do you see the boxes of bulbs? They received a makeover that I'll show you another day.
PhotobucketPhotobucket
Here you can see a little closer up. You just draw a line from one edge to the next and that will create a rounded edge, cut that line and you'll have a circle.


After that I used a plate to draw a circle in the middle, to go around the tree. The size of your circle depends on the type of tree you have and how large your tree stand is. I made sure to leave a space large enough so I could still water it easily. Then you simply hem the raw edges. I sewed the jute into place on both sides and it was done.

Photobucket

Originally I thought I would do a pretty ruffled skirt like I've seen all over Pinterest. And then I thought maybe I would just add a single ruffle or pretty lace around the edge. But I've decided that I love it just as it is.

Thanks for visiting!

Monday, December 12, 2011

A {P}inspired Wreath

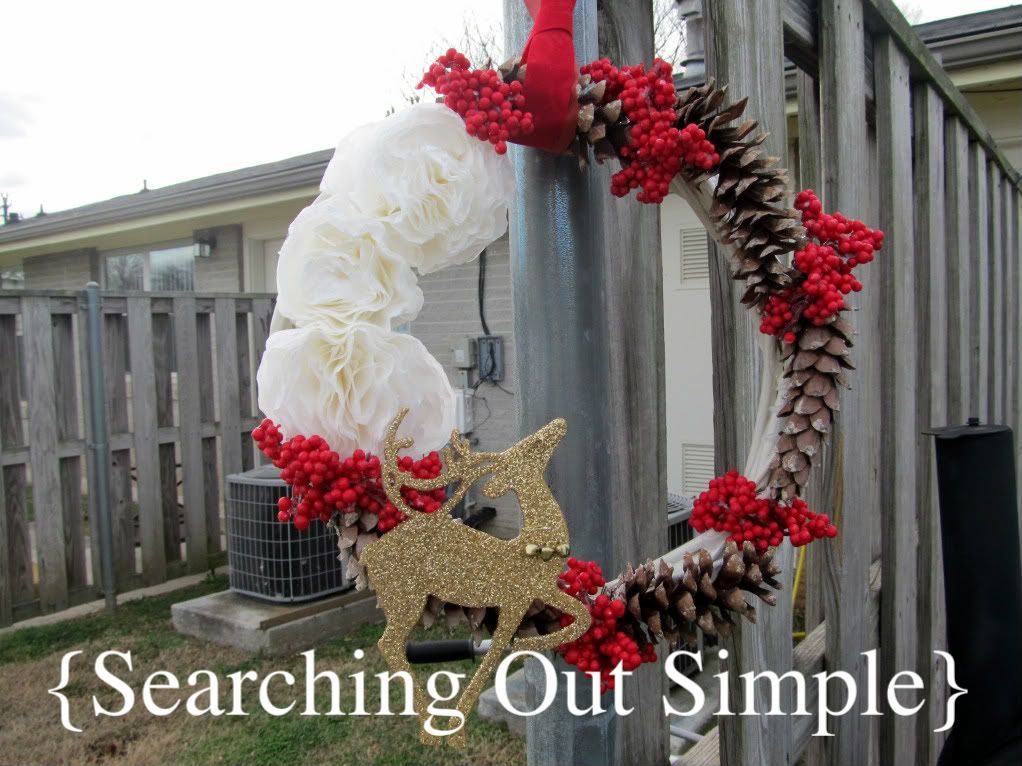
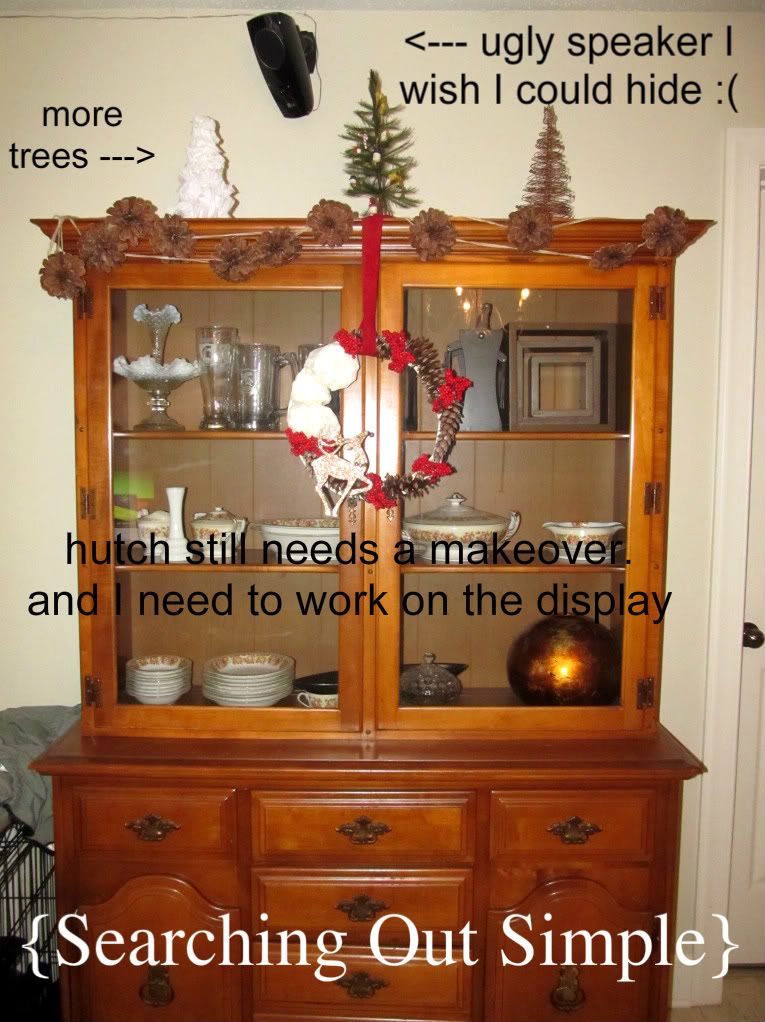
Are you tired of pinecones yet? I hope not. Here's another wreath I made and shared last week at Type A and wanted to share here if you missed it.

I saw a beautiful wreath and pinned it for inspiration. And then I made my own. Which really doesn't look a whole lot like the inspiration but maybe that's a good thing sometimes.
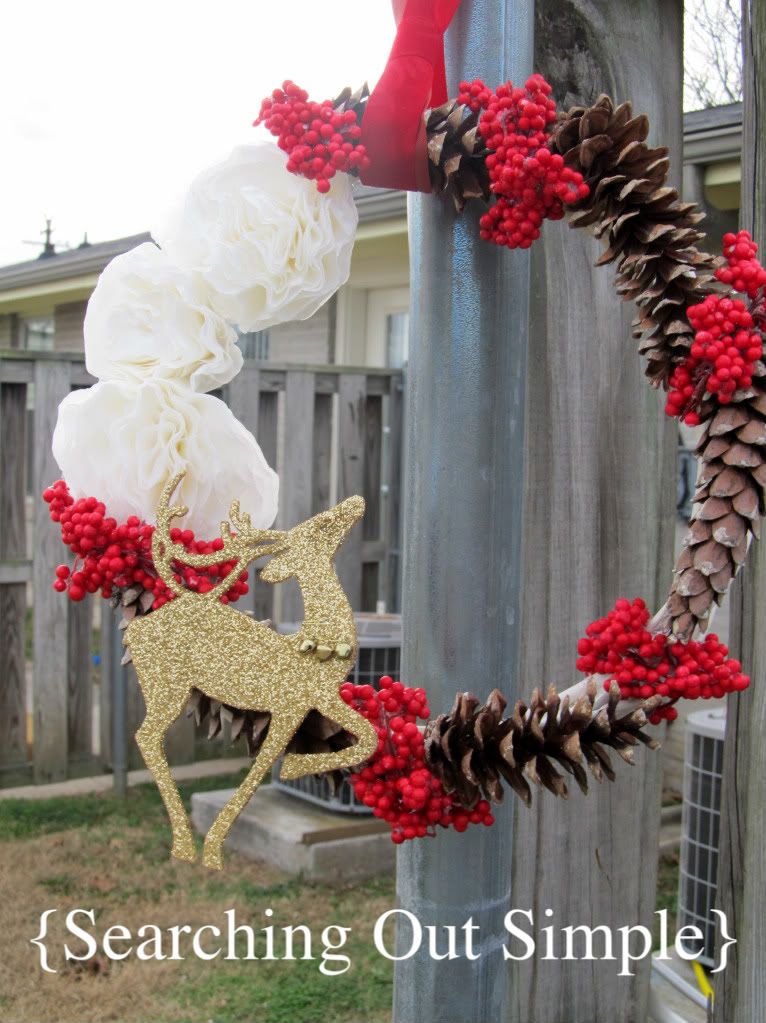
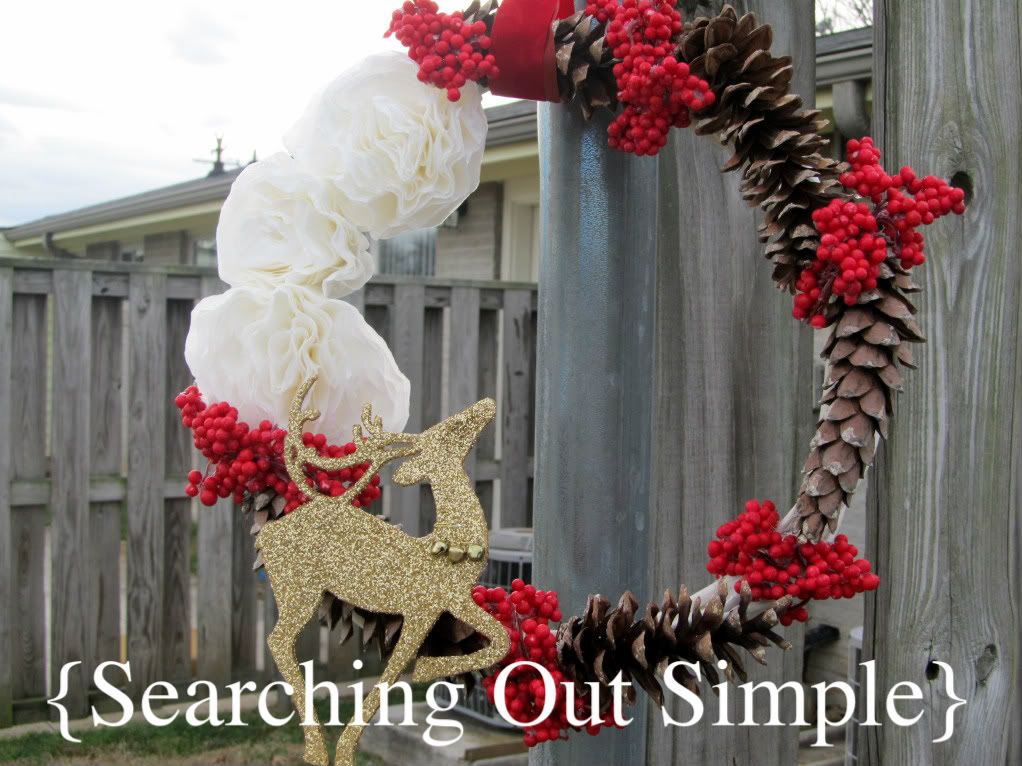
It started with a wreath, coffee filters, cranberries and a two pack of gold, glittery reindeer from the dollar store. Along with some pinecones from the field behind my house.

The wreath was a blonde wood kind of color so I painted it a white. Then I made some flowers by folding & layering the coffee filters into flower shapes and hot glued them to the wreath. Next, I added pinecones I had gathered earlier. I clipped the cranberries from the stem and hot glued the clusters, wrapping around the edges of the wreath. The glittery gold deer finished it off.

I am thrilled with how it turned out. I have since changed the ribbon to a wider sheer red ribbon that has some glitter in it and will probably change it again once I get some burlap.

And this is why I took pictures outside. My camera doesn't play nice indoors and I don't know how to not capture reflections on glass. Fortunately for us all you can't see that I'm wearing my pajamas. It was a productive day and some days it's me or the house. The house won that day.
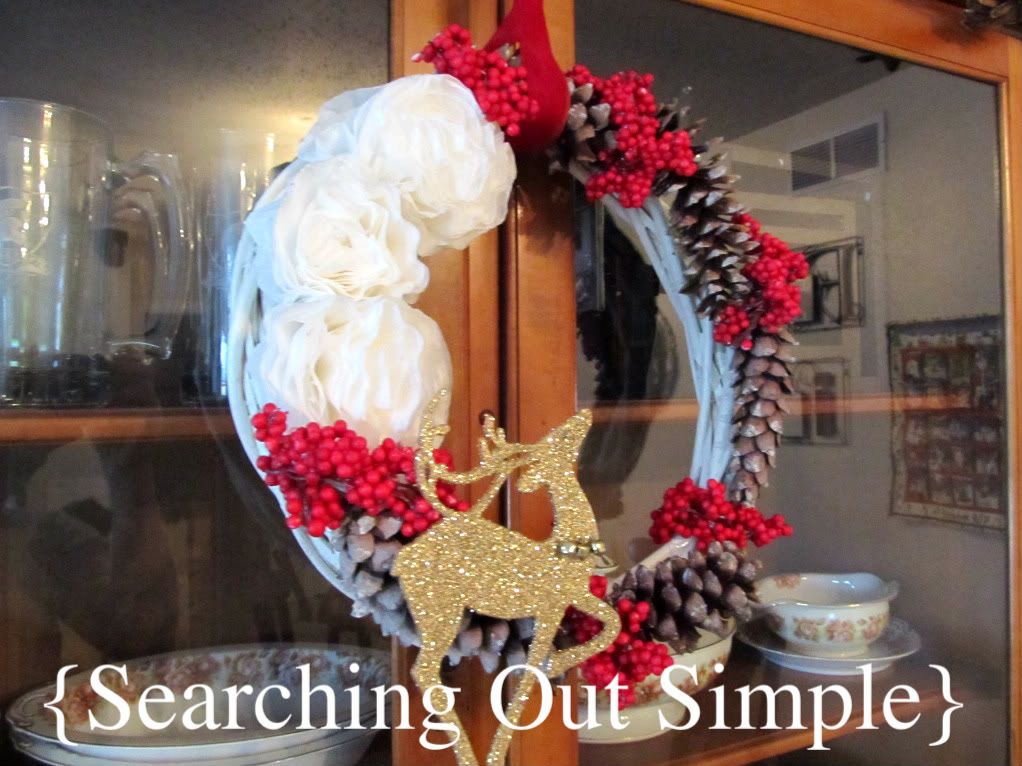
Here is an even worse picture of where the wreath hangs. I don't have a fireplace with a mantle or a shelf to serve as one so I've decided to decorate the top of my hutch. It's a work in progress.
Ah, that's better. I wanted to leave you with something pretty. Thanks for visiting!
Linking to:
Saturday, December 10, 2011

Tiny Pinecone Wreath

Yesterday I shared a wreath over at Type A and today I have another wreath for you to see. You've already seen some of my nature inspired decorations. My simple centerpiece and pinecone garland.

Today's wreath follows suit.


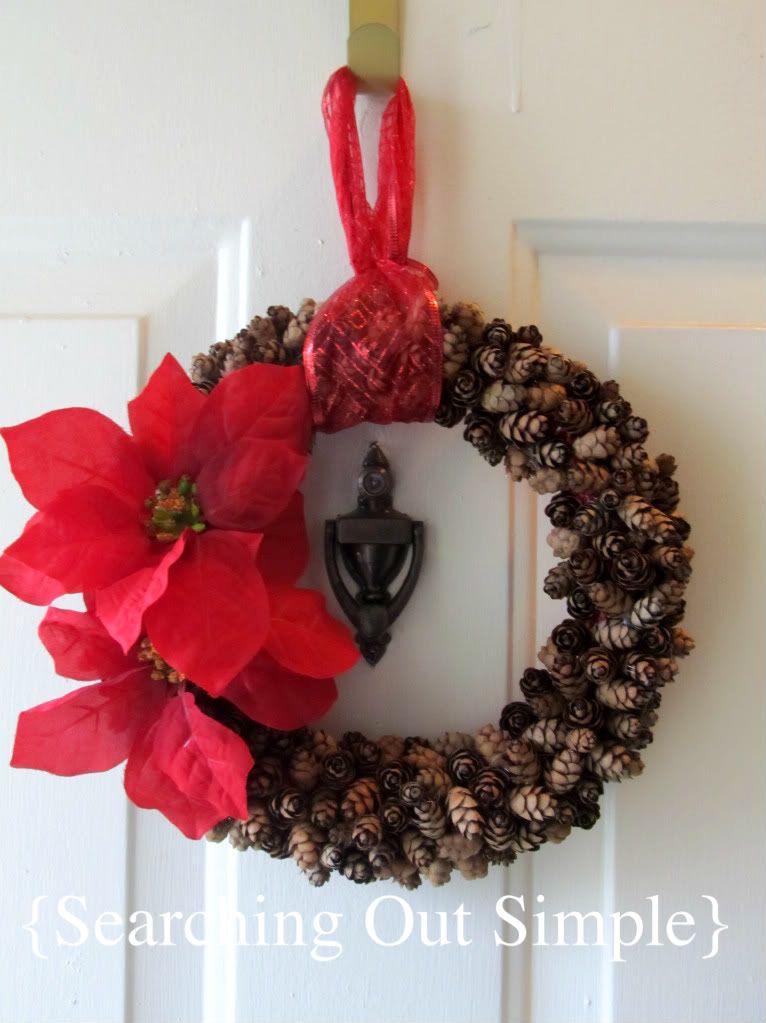
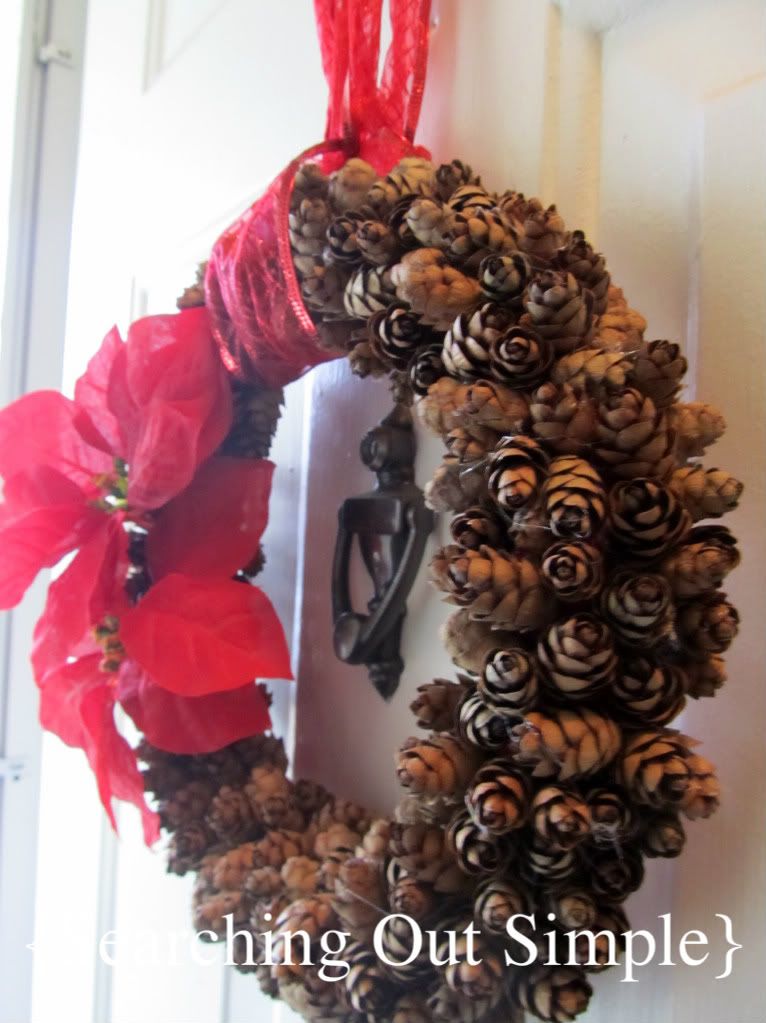
I made this using a small form from the dollar store (8 or 10 inches I believe). I wrapped it with a strip of red fabric so the pinecones would have something to stick to. After gathering tiny pinecones from the tree {a couple times} and going through a handful of hot glue sticks she was complete.


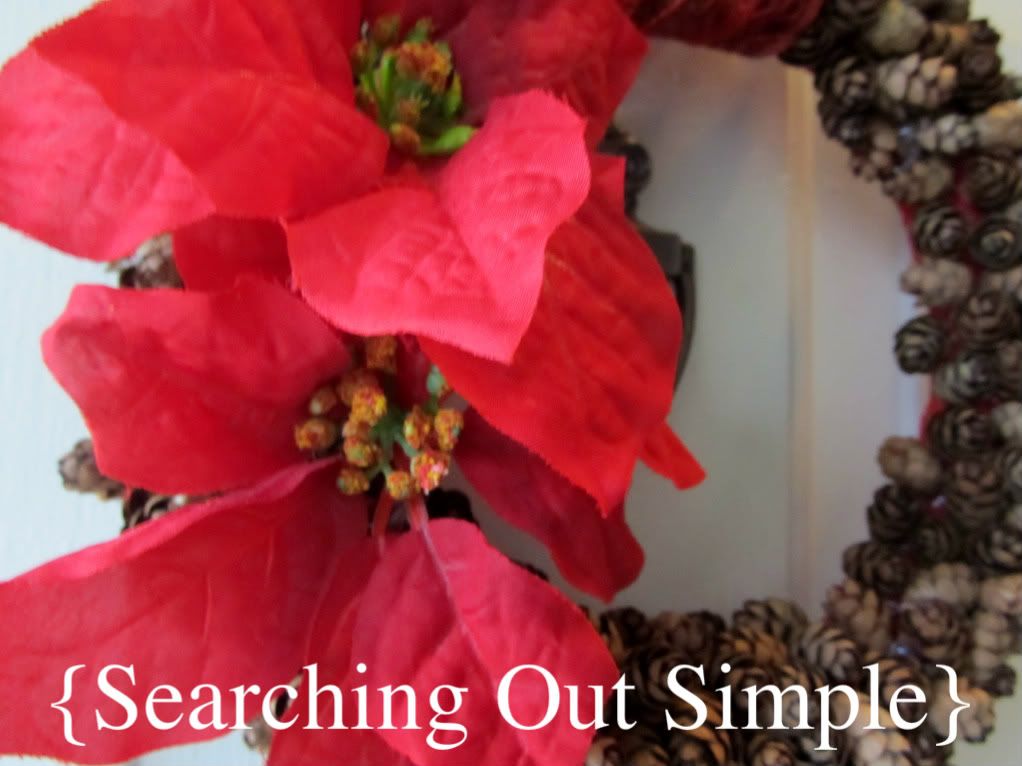
I added the {fake} red poinsettia that was in my Christmas stash from last year. And sparkly red ribbon to hang. I like the pop of red.


I really love how this turned out. I would have shared some step by step photos but most of this was put together at night and my indoor lighting is useless at night. Simple enough to do without pictures though. If you have acorns or acorn caps they would look cute on a wreath also.

Thanks for visiting!

Linking to:
Weekend Bloggy Reading


Friday, December 9, 2011

Christmas Wreath Guest Post

Good morning friends! I am busy making a tree skirt so it's ready in time to trim the tree this evening. I wanted to let you know that I am a guest over at Type A today. Tammy has a Christmas guest series going on her blog and I'm excited to be a part of it. Click the button below to see one of my wreaths. There are pinecones and glitter and coffee filters. What a combination huh? ;)


Thanks for stopping by! I'll be back soon with another wreath, ornaments and my tree skirt.

Happy Christmas!

Sunday, December 4, 2011

Simple Centerpiece

Are you decorating for Christmas {yet, still, finished}? Several of my friends have their trees and mantels complete and I love seeing pictures they share on facebook or their blogs. What? None of your friends live in the computer? ;) I'm still in the process of decorating and giving some bulbs a makeover. Hope to be sharing that soon!
Today I'm going to share my table centerpiece with you. I'm going to apologize for the picture quality ahead of time. I don't take very good photos inside and it was raining the day I took these so going outside {like I do whenever possible} wasn't an option.

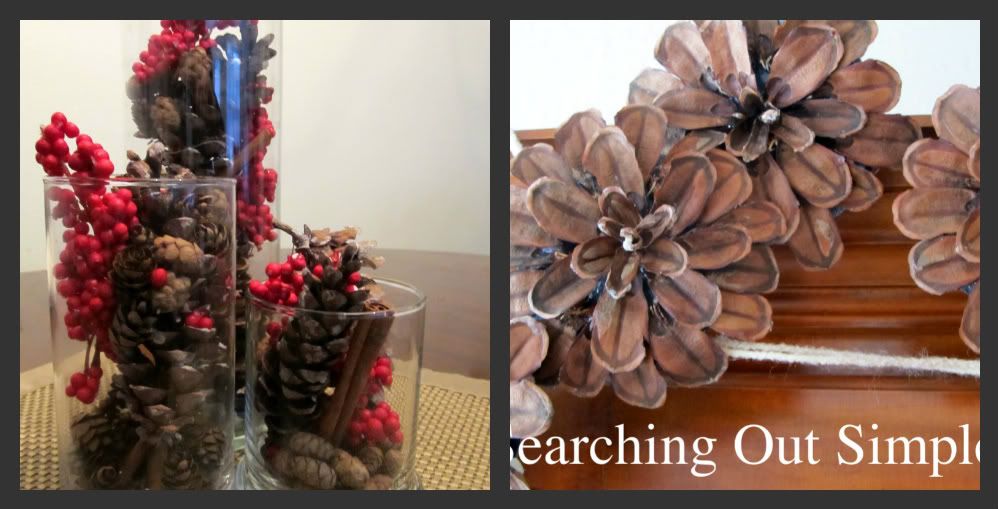
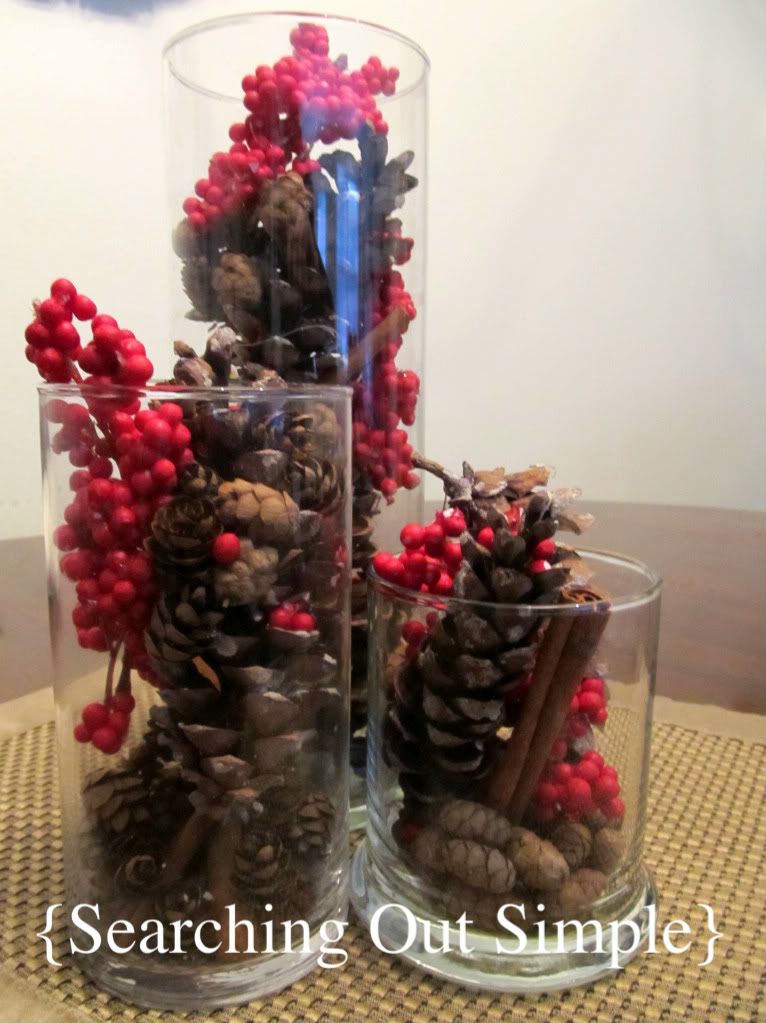
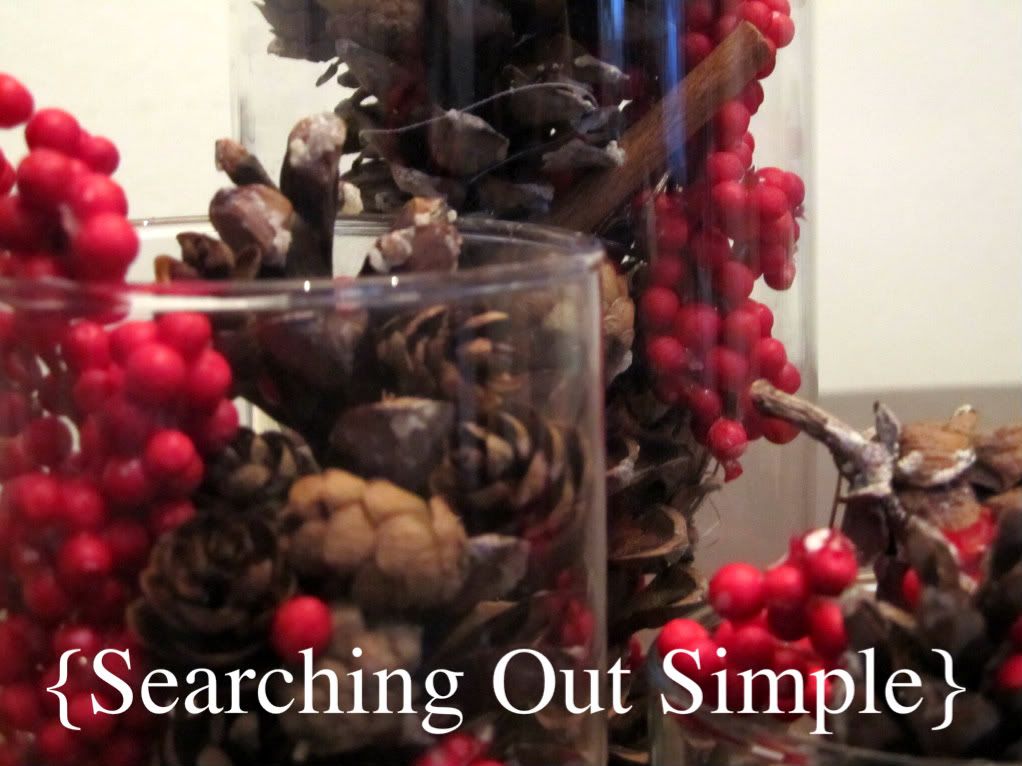
Most of this was already done from November, I just added some fake cranberry bunches purchased from the dollar store. I gathered three glass vases/candle holders from around the house and filled them up with small & larger pine cones from the backyard and cinnamon sticks.
I love the simplicity and touches from nature. You'll see more of that inspiration in the rest of my decor. For now I have the vases on a placemat but will be getting a gold charger from the dollar store to personalize. I can't figure out why I passed it up the last time I was there and hope they still have some.
Next week I'll be a guest at Type A for her Christmas series. Click on the button below to see what other guests have been sharing.

Linking at:

sew many ways
 
Weekend Bloggy Reading
Related Posts Plugin for WordPress, Blogger...